Eyeliner—when done right—is like the cherry on top of your makeup look. It can transform tired eyes into smoldering showstoppers or add a playful flick that turns heads. But let’s be real for a second—mastering eyeliner is no walk in the park. We’ve all been there: one wing is soaring to the heavens while the other looks like it forgot to wake up. Smudges, uneven lines, shaky hands, and the dreaded eyeliner mistake that ruins your perfectly blended eyeshadow can quickly turn your makeup session into a stressful mess. Sound familiar? You’re not alone.
The good news is that these common eyeliner struggles don’t have to be a permanent part of your routine. Whether you’re a beginner trying to figure out which end of the pencil to use or a seasoned makeup lover still battling the occasional eyeliner meltdown, this guide is here to help. From skipping primer (oops!) to forgetting the golden rule of “match your wings,” we’ll uncover the top eyeliner mistakes and give you practical, foolproof tips to fix them.
This isn’t about shaming anyone’s skills—it’s about building confidence and empowering you to own your eyeliner game. With the right techniques and tools, you can nail that crisp wing, smudge-free waterline, or sultry smoky effect every single time. Let’s dive into the eyeliner mistakes holding you back and turn you into the eyeliner pro you were born to be.
8 Common Eyeliner Mistakes and How to Avoid Them
Eyeliner Mistake 1: Pulling Your Eyelid While Applying Eyeliner
We’ve all been there—stretching our eyelid to get the “perfect” line, only to realize that once we let go, the eyeliner is anything but perfect. The issue? When you tug on your delicate eyelid skin, it creates a taut surface for application, but as soon as you release, your skin snaps back to its natural state, leaving you with uneven or wavy lines that aren’t quite what you had in mind. It’s a classic eyeliner mistake that many of us fall into without even realizing it. Plus, this habit can tug on your skin unnecessarily, potentially leading to irritation or even premature wrinkles over time. Yikes, right?
How to Avoid It
The good news is, you don’t need to pull or stretch anything to get smooth, even eyeliner. Here’s how to nail it without the tug:
- Keep It Gentle: Skip the stretching altogether and let your eyelid stay in its natural position. This might feel tricky at first, but trust me, it’s all about technique. Use short, light strokes to draw your line instead of trying to create one sweeping masterpiece in a single go. Bonus: This gives you way more control over the shape and thickness of your liner.
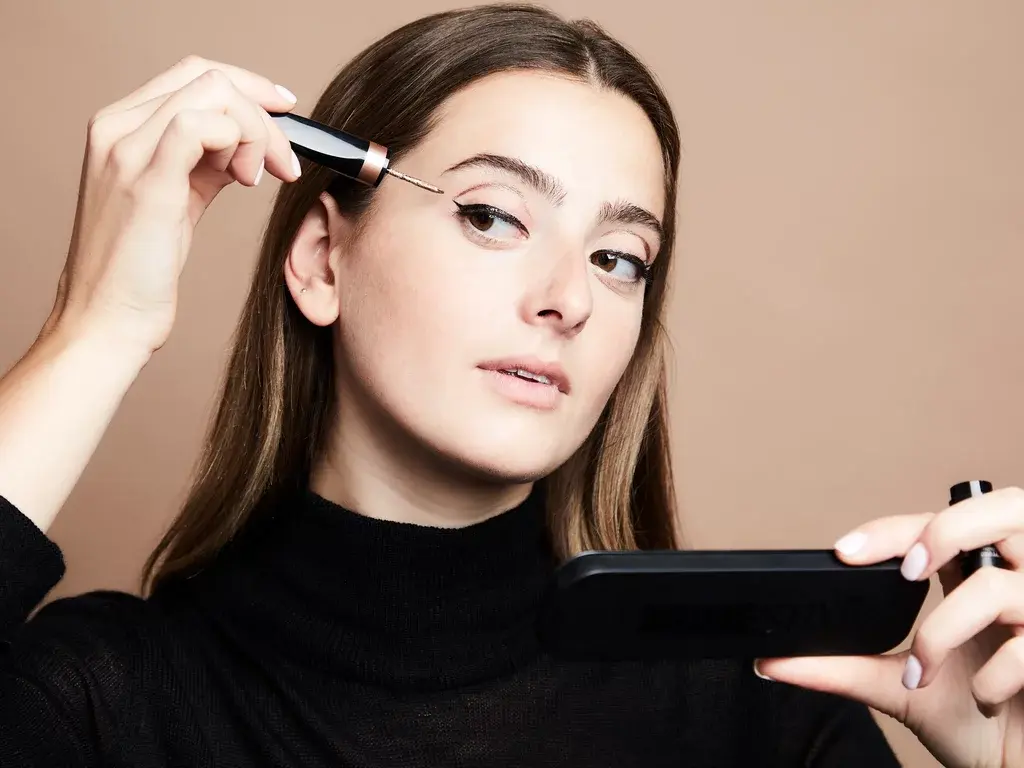
- Angle Your Mirror Smartly: This is a game-changer. Place your mirror slightly below eye level or at an angle, so you’re looking downward while applying your eyeliner. This naturally keeps your eyelid taut enough for application without the need for pulling or stretching. Plus, it gives you a better view of your lash line, helping you stay precise.
- Invest in the Right Tools: If you struggle with precision, try switching up your eyeliner. Felt-tip liquid liners or fine-tipped gel liners can make all the difference, giving you the control you need for crisp lines without any extra effort.
Pro Tip:
If you’re worried about creating a clean, smooth line, consider using an eyeliner pencil to sketch your line first. Once you’re happy with the shape, go over it with your liquid or gel liner for a polished look. This is especially helpful if you’re trying to perfect winged eyeliner or dramatic cat-eye styles.
Eyeliner Mistake 2: Using Dry or Expired Eyeliner
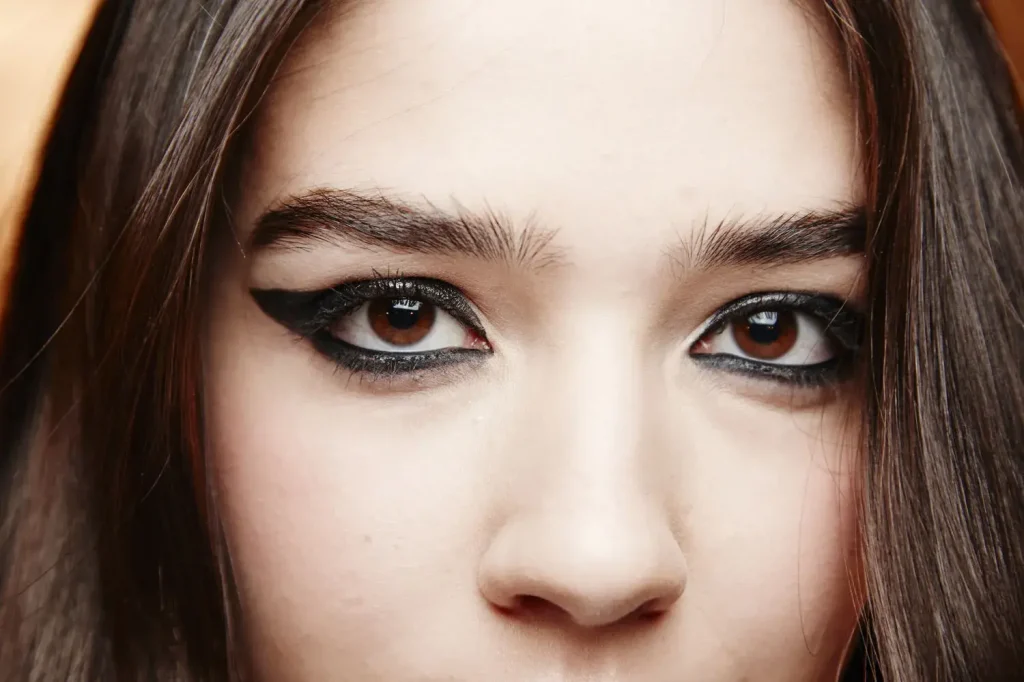
Let’s be honest—using old or dried-out eyeliner is a rookie move we’ve all been guilty of at some point. The problem? Dry eyeliner just doesn’t cooperate. Instead of a smooth, effortless glide, you’re left dragging it across your lids, creating patchy lines and tugging on that delicate skin. It’s not just a beauty issue—it’s a hygiene one too. Expired eyeliner can become a breeding ground for bacteria, putting you at risk for eye infections. Gross, right?
But don’t worry. With a little tender loving care (and no more hoarding ancient eyeliners), you can avoid this problem entirely.
The Fix: How to Avoid Dry or Expired Eyeliner
- Replace Regularly:
- Liquid eyeliners are your short-term BFFs—replace them every 3 to 6 months to keep things fresh and safe.
- Pencil eyeliners are a bit more forgiving. With regular sharpening, they can last up to a year, but don’t push it past that point.
- Store Like a Pro: Keep your eyeliner tightly closed and store it in a cool, dry place (no, your bathroom counter doesn’t count). Humidity from hot showers can wreak havoc on your products, making them dry out faster.
- Revive If You Must: Got a beloved pencil that’s starting to feel a little crusty? Don’t toss it just yet! Give it a quick fix by warming the tip slightly. Hold it under a flame from a lighter for just 1–2 seconds, then let it cool for a few seconds before applying. This trick can restore its creamy glide, but don’t overdo it—burnt eyeliner is not a vibe.
- Hygiene First: Sharpen your pencil eyeliners before each use to remove the top layer where bacteria might linger. For liquid liners, clean the applicator regularly with an alcohol wipe.
Pro Tip: Quality Matters
Cheap eyeliners tend to dry out faster and lack the smooth application of high-quality formulas. If you find yourself battling dry liners frequently, it might be time to invest in a reliable brand with long-lasting, creamy formulas. Trust us, your eyes are worth it.
Eyeliner Mistake 3: Overlooking Primer
Let’s be real—primer might feel like an extra step, but it’s an absolute game-changer for your eyeliner. Skipping it can leave you dealing with smudges, creases, or that dreaded midday fade. And if you have oily eyelids? Forget about it—your eyeliner doesn’t stand a chance.
Why You Need a Primer in Your Life
Primer works as a barrier between your skin’s natural oils and your makeup, keeping everything in place. It gives your eyeliner a smooth, even canvas to cling to, so you’re not fighting against patchiness or streaks. Plus, it enhances the longevity of your eyeliner, keeping it fresh and flawless all day.
How to Fix This Rookie Mistake
- Invest in a Good Primer: Pick up an eyeshadow primer that’s reliable and matches your skin type. If you’re prone to oily lids, go for a mattifying formula. Not only will it prevent smudging, but it’ll also make the colors pop if you’re layering eyeshadow with your eyeliner.
- Apply It Like a Pro: Dab a tiny amount onto your eyelids with your fingertips or a brush. Spread it evenly, focusing on the areas where you’ll apply eyeliner. Let it set for a few seconds before moving on. You don’t need a lot—less is more here!
- Lock It All In: After applying your eyeliner, take it up a notch with translucent powder. Using a small brush, lightly dust the powder over your liner. This simple step acts like a sealant, keeping your eyeliner from budging, even through sweat or long hours. Alternatively, you can layer a matching eyeshadow on top of the liner for added staying power and a softer, smudged effect.
Pro Tip: Multitask with Your Primer
If you don’t have a dedicated eyeshadow primer, no worries—your trusty foundation or concealer can double as a primer in a pinch. Just make sure it’s set with a bit of powder to prevent creasing.
Eyeliner Mistake 4: Ignoring Your Eye Shape
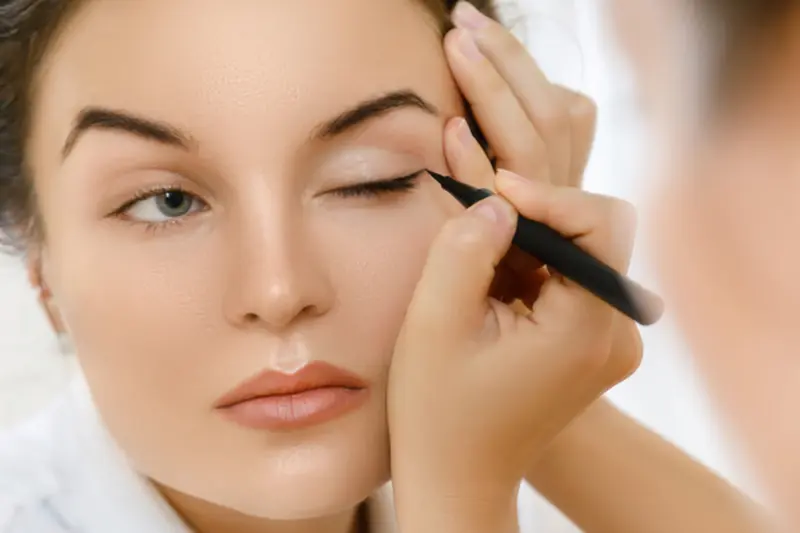
Alright, let’s talk about one of the most overlooked eyeliner mistakes—ignoring your eye shape. Your eyes are uniquely yours, and the way you apply eyeliner should enhance their natural beauty, not work against it. Slapping on a one-size-fits-all liner style can leave you looking less fab and more, well, frustrated. Applying eyeliner without tailoring it to your eye shape can make your eyes look smaller, droopy, or just plain awkward. The key? Embrace your eye shape and work with it, not against it!
How to Avoid It
1. Hooded Eyes
- Stick to thin lines to prevent your eyeliner from disappearing under the hood.
- Add a wing to lift and open your eyes.
- Tightline your upper lash line for subtle definition.
2. Round Eyes
- Create a cat-eye to elongate your eyes.
- Keep the liner thin on the inner corner and thicker on the outer edge.
- Lightly smudge the lower lash line for balance.
3. Monolids
- Go bold with thicker eyeliner for visibility.
- Experiment with graphic styles for creative looks.
- Smudge the edges for depth and dimension.
4. Almond Eyes
- Rock any style, from classic wings to bold, thick lines.
- Gradually thicken the liner toward the outer corners for a lift.
- Add soft lower-lash definition for a sultry vibe.
5. Downturned Eyes
- Focus liner on the outer corners, lifting slightly for a natural lift.
- Skip heavy lower-lash liner to avoid dragging the eyes down.
Final Tip: Experiment and Perfect
Don’t be afraid to try new techniques and adjust as you go. Tailoring your eyeliner to your eye shape can elevate your makeup game, leaving you with a look that’s flattering, fierce, and uniquely yours. Practice makes perfect—so grab that eyeliner and start experimenting!
Eyeliner Mistake 5: Forgetting the Lower Lash Line
your lower lash line is often the forgotten child of your makeup routine. Skipping it altogether can leave your eyeliner looking half-done, like an unfinished painting. On the flip side, going too heavy can make your eyes look tired or even a little too dramatic for everyday wear. It’s all about finding that sweet spot where your lower lash line enhances your overall look without stealing the spotlight.
How to Avoid It
- Keep It Soft and Subtle: The trick to nailing your lower lash line is subtle definition. Grab a creamy pencil eyeliner (because nobody likes tugging at their skin), and gently run it along the lash line. Think soft, smoky vibes—not harsh, bold lines. A quick smudge with a brush or even your fingertip can take it from stark to sultry in seconds.
- Blend Like a Pro: Your lower lash line should complement your upper liner, not compete with it. After applying eyeliner, grab a smudge brush or a clean cotton swab to blend it out. This softens the line and creates a natural, cohesive look that ties everything together.
- Pick the Right Shade: Black is bold, but it’s not always the best choice for the lower lash line, especially during the day. Try brown, taupe, or even a soft plum for a more understated, sophisticated finish. These shades define your eyes without making them look harsh.
- Balance Is Key: Don’t stop at the lower lash line! Pair it with a perfectly blended upper liner. A defined top and soft bottom create the perfect harmony, giving your eyes a polished and professional finish.
Bonus Pro Tip
If you’re going for a no-makeup makeup look or a fresh, daytime vibe, try skipping eyeliner altogether on the lower lash line and opt for a swipe of mascara instead. It subtly defines your eyes without looking overdone.
Eyeliner Mistake 6: Choosing the Wrong Formula
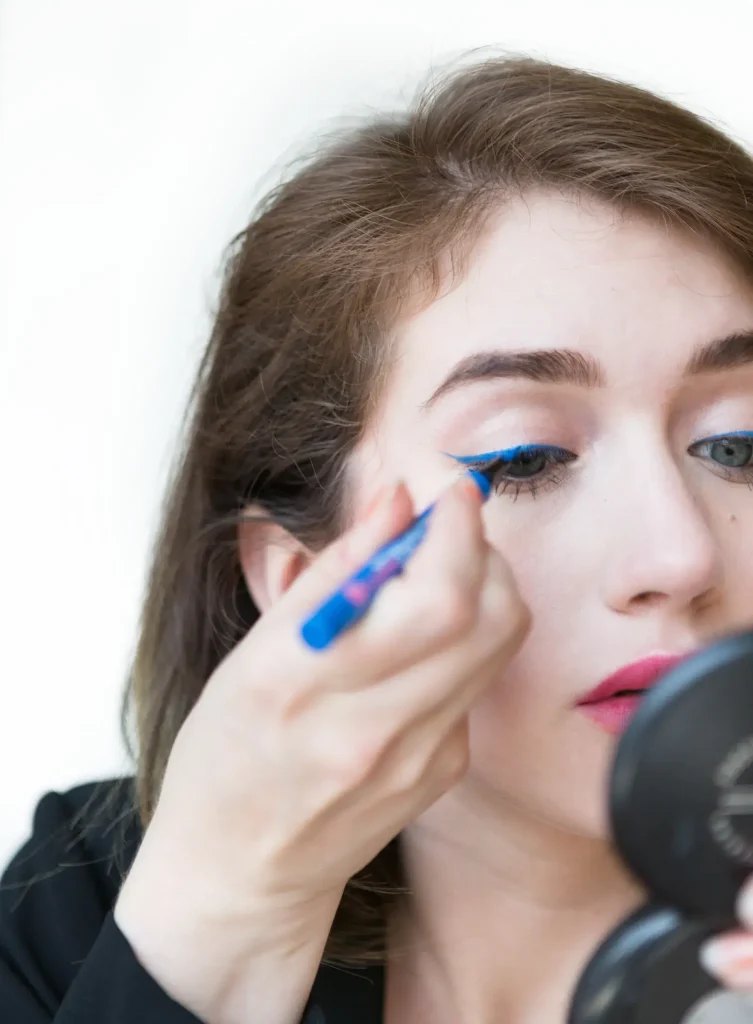
Picking the wrong eyeliner formula is a recipe for disaster. It’s like trying to build a sandcastle with dry sand—things just won’t hold up. The wrong formula can leave you with smudges, uneven lines, or worse, eyeliner that vanishes halfway through the day. If you’re using a formula that doesn’t suit your needs, it’s not just frustrating—it can also amplify other eyeliner mistakes, like over-applying or struggling to get a clean line. And don’t even get me started on how tricky it can be to apply some formulas if they’re not the right match for your skin type, eye shape, or skill level. Choosing the right formula is the foundation of flawless eyeliner!
How to Avoid This Formula Faux Pas
1. Know Your Options
Not all eyeliners are created equal, and finding the right one can be a game-changer. Here’s the breakdown:
- Pencil Liners: These are your go-to if you’re new to the eyeliner game. They’re super easy to control and perfect for softer, everyday looks. The downside? They may need a touch-up or two throughout the day, especially if you have oily skin.
- Gel Liners: If you’re after versatility and staying power, gel liners are where it’s at. They glide on smoothly and can be used for everything from a subtle line to a bold cat-eye. The catch? You’ll need a steady hand and a good angled brush.
- Liquid Liners: These are the heavy hitters when it comes to sharp, precise lines. Perfect for dramatic wings or graphic liner looks, but they’re not exactly beginner-friendly. A shaky hand can quickly turn your masterpiece into a mess.
2. Match Your Needs
Not all eyeliners are created equal, and your perfect match depends on where and how you’re planning to wear it:
- For Smoky Looks: A pencil liner is your BFF—it’s smudgeable, forgiving, and perfect for creating that lived-in, sultry look.
- For Long Days or Humid Weather: Waterproof or smudge-proof formulas are non-negotiable. No one wants raccoon eyes after lunch!
- Sensitive Eyes: Opt for hypoallergenic or ophthalmologist-tested liners. Gel formulas are usually a safe bet here.
3. Consider Your Skin Type
Here’s where things get personal. If you have oily skin, opt for smudge-proof or waterproof formulas. These are designed to resist the oil that can cause eyeliner to slide around. Dry skin? You’re in luck—most formulas will work for you, but steer clear of anything too dry or tuggy, like old pencil liners.
Pro Tip:
When in doubt, head to a beauty counter and try before you buy. Most stores have testers (and pros!) who can help you figure out which formula is your perfect match. Plus, you’ll avoid the frustration of splurging on something that ends up in the back of your makeup drawer.
Eyeliner Mistake 7: Uneven Winged Liner
Ah, the elusive perfect winged liner. It’s the holy grail of eyeliner looks, yet it has the uncanny ability to go rogue. One side looks flawless, the other… not so much. We’ve all been there, staring at the mirror, trying to even out wings until they turn into dramatic bat wings (oops). The struggle is real, but it doesn’t have to be.
How to Avoid Uneven Wings Like a Pro
- Create a Roadmap with Guidelines: Before diving in, map out your wing with small dots or dashes. This simple trick gives you a visual guide to follow and helps ensure your wings are heading in the same direction. Think of it as a “connect the dots” for your eyeliner masterpiece.
- The Magic of Tape and Stencils: Feeling shaky? Grab some tape! Place a small strip at an angle from the outer corner of your eye toward your brow tail. This gives you a crisp edge and keeps both wings even. Alternatively, reusable eyeliner stencils are a game-changer if you’re looking for fuss-free precision.
- Find Your Best Angle: The angle of your wing can make or break your look. A quick hack? Align your wing with the natural upward angle of your lower lash line. This creates a flattering, lifted effect and keeps things symmetrical. Remember, everyone’s eye shape is different, so take your time to figure out the angle that suits you best.
- Build Gradually, Don’t Rush: Instead of trying to draw the entire wing in one go, start small. Draw a short, thin wing first and build it up slowly. This way, if you mess up, it’s easier to fix without scrapping your whole look.
Eyeliner Mistake 8: Skipping Cleanup
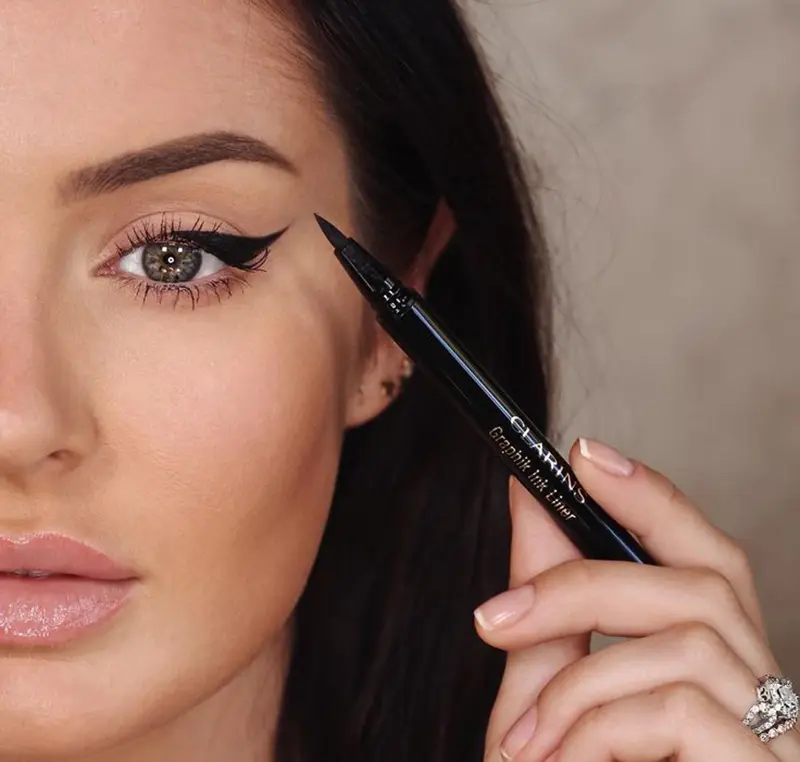
You’ve nailed your eyeliner… almost. But then you spot it—a tiny smudge or a slightly uneven edge threatening to ruin your hard work. Skipping the cleanup stage is like baking a cake and forgetting the frosting. Even the smallest touch-ups can elevate your eyeliner game from “almost there” to absolute perfection.
How to Avoid Skipping the Cleanup
- Keep Q-Tips on Standby: Q-tips are your eyeliner emergency squad. They’re perfect for erasing smudges and sharpening edges with precision. Just dip one in a bit of micellar water or a gentle makeup remover, and carefully clean up any mistakes. Bonus: You can also use them to shape your wing for that razor-sharp edge.
- Concealer is Your Wingman: A good concealer isn’t just for hiding dark circles—it’s also your secret weapon for eyeliner cleanup. Grab a fine-tipped brush, dab on some concealer, and trace along the edges of your liner to sharpen the lines. This trick not only perfects your look but also adds a subtle highlight, making your eyeliner pop.
- Double Down with Angled Brushes: If you want ultimate precision, an angled eyeliner or eyebrow brush can do wonders. Dip it in concealer or makeup remover, then glide it along your liner edges to clean up any imperfections. The angled design ensures you can get super close to your liner without messing it up.
- Fix First, Set Second: Before you move on to the rest of your makeup, take a moment to fix any smudges or unevenness. Once you’ve cleaned up, set your eyeliner with a matching eyeshadow or translucent powder to lock it in place.
- Don’t Forget the Inner Corners: The inner corners of your eyes are often where eyeliner smudges like to hide. A quick cleanup in this area can make your entire look appear neater and more intentional.
How to: PERFECT WINGED EYELINER every single time! (Video)
Conclusion: Say Goodbye to Eyeliner Mistakes
When it comes to eyeliner, it’s not just about drawing a line—it’s about confidence, precision, and a little bit of artistry. From uneven wings to smudged lines, we’ve all faced those pesky eyeliner struggles. But the good news? With the right techniques and a bit of patience, you can avoid these common eyeliner mistakes and take your skills to the next level.
Perfecting your eyeliner isn’t about perfection—it’s about learning what works for you and your unique eye shape, practicing regularly, and embracing the cleanup process when things don’t go exactly as planned. Remember, even the most experienced makeup artists have off days, so don’t be too hard on yourself. Every swipe of the liner is a step closer to mastering the art.
Now it’s your turn to grab that eyeliner and start practicing. Whether you’re fixing uneven wings, cleaning up smudges, or learning to embrace your eye shape, these tips are here to help you level up your makeup game. Have a favorite tip or a go-to eyeliner hack? Share it with us in the comments below—we’d love to hear what works for you!
So, go ahead—line those eyes like a pro and let your confidence shine through!
Related Articles on BeautyStyleMag
- How to do cat eyeliner for beginners step by step
- 4 Ways to Do a Cat Eye Like a Pro
- 15 Essential Makeup Tips for Beginners: Everything You Need to Know!
For more inspiration, check out reliable resources like allure.com and glamour.com for expert advice.


