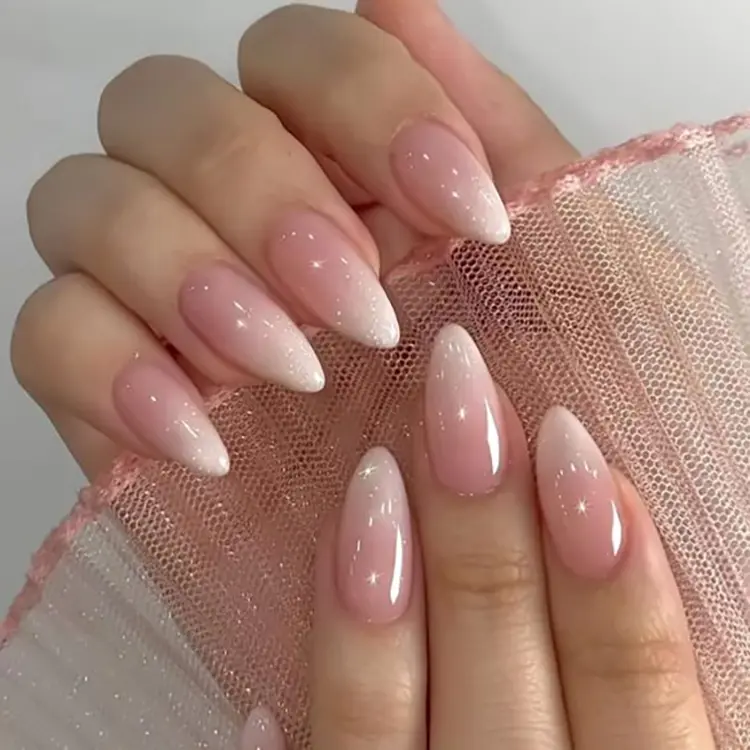
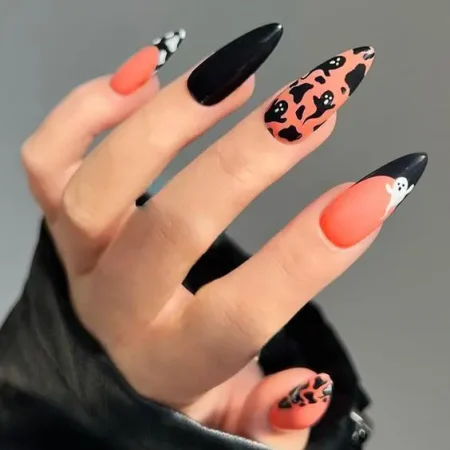
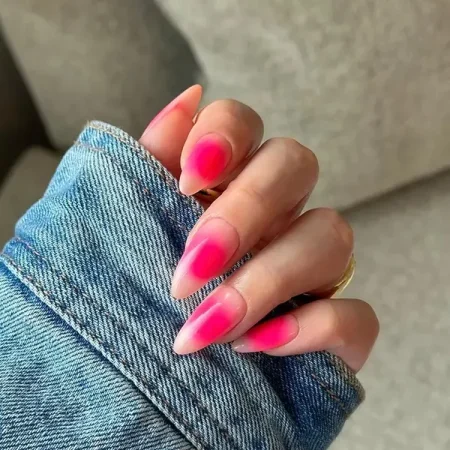
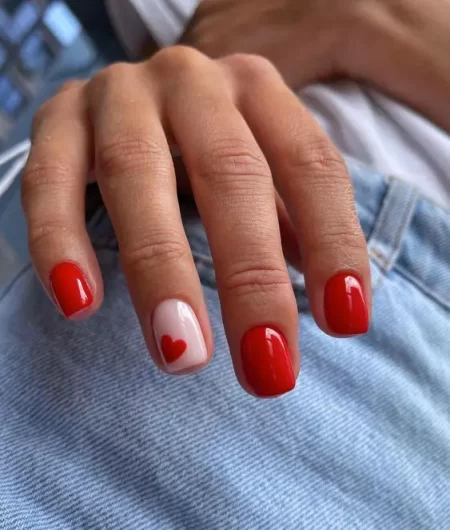
If you’ve been scrolling through beauty feeds lately, you’ve probably noticed the stunning ombre nail trend taking over Instagram, TikTok, and pretty much everywhere else! Ombre nails are all about that smooth, dreamy gradient that shifts from one color to another, creating a look that’s sophisticated, versatile, and downright mesmerizing. Whether you’re into soft pastels for a subtle vibe or bold, contrasting shades that make a statement, ombre nails are your ticket to a salon-quality manicure that you can master right at home.
The best part? You don’t need a pro license or years of practice to nail this look. With the right tools, a little patience, and some insider tips, you can create an ombre effect that will have everyone asking, “Who did your nails?” And the beauty of ombre nails is their flexibility—there’s really no limit to what you can create. Think of it as an art form, where each nail becomes a mini canvas for your color experiments.
In this guide, I’m going to walk you through everything you need to know about creating flawless ombre nails from start to finish. From prepping your nails to choosing the perfect shades and mastering the sponge technique, you’ll have all the steps to create a gradient that looks professionally done. So grab your favorite polishes, maybe a makeup sponge, and let’s get into it—because by the end of this, you’ll be an ombre nail pro!
Table of contents
What Are Ombre Nails?
Ombre nails are a must-try trend in the nail art world—and for a good reason. Picture your favorite colors blending together seamlessly, moving from one shade to the next in a soft, gradient effect. That’s the magic of ombre nails! It’s like your nails are tiny canvases, each one showcasing a beautiful fade that can be as subtle or bold as you want.
The beauty of ombre nails lies in their versatility. You can go for a classic, understated nude-to-pink gradient for that barely-there, sophisticated vibe, or dive into more adventurous looks, like neon-to-pastel transitions for a pop of fun and color. Want something dark and moody? Try a deep burgundy fading into midnight black. Feeling bright and fresh? Opt for a summer-inspired blend of coral and peach. The options are endless, and that’s what makes ombre nails such a hit—they can be completely tailored to match your mood, the season, or even just the outfit of the day.
Ombre nails also give you room to play with color in a way that’s eye-catching but not over-the-top. It’s the perfect balance between simple and striking, making it ideal whether you’re new to nail art or a seasoned pro. With ombre, there’s truly something for everyone, no matter your style.
Why Choose Ombre Nails?
- On-Trend: A favorite among nail art enthusiasts and professionals alike.
- Versatility: Works for any season or occasion.
- Creativity: Allows for endless color combinations.
Step-By-Step Guide: How To Do Ombre Nails Like A Pro
Ready to master ombre nails? Let’s go step-by-step so you can get those Instagram-worthy nails right from the comfort of your home. From picking colors to cleanup, this guide has everything you need to nail it (literally!).
Materials You’ll Need
Before diving in, make sure you have these essentials at your side for a smooth, stress-free process:
- Nail polish in two or more colors – Choose shades that blend beautifully together.
- Makeup sponge or nail art sponge – For that seamless gradient effect.
- Base coat and top coat – Essential for a strong, lasting look.
- Nail polish remover – Mistakes happen; this will be your best friend.
- Small brush or Q-tips – Handy for cleaning up around the edges.
1. Prep Your Nails – The Key to a Flawless Finish
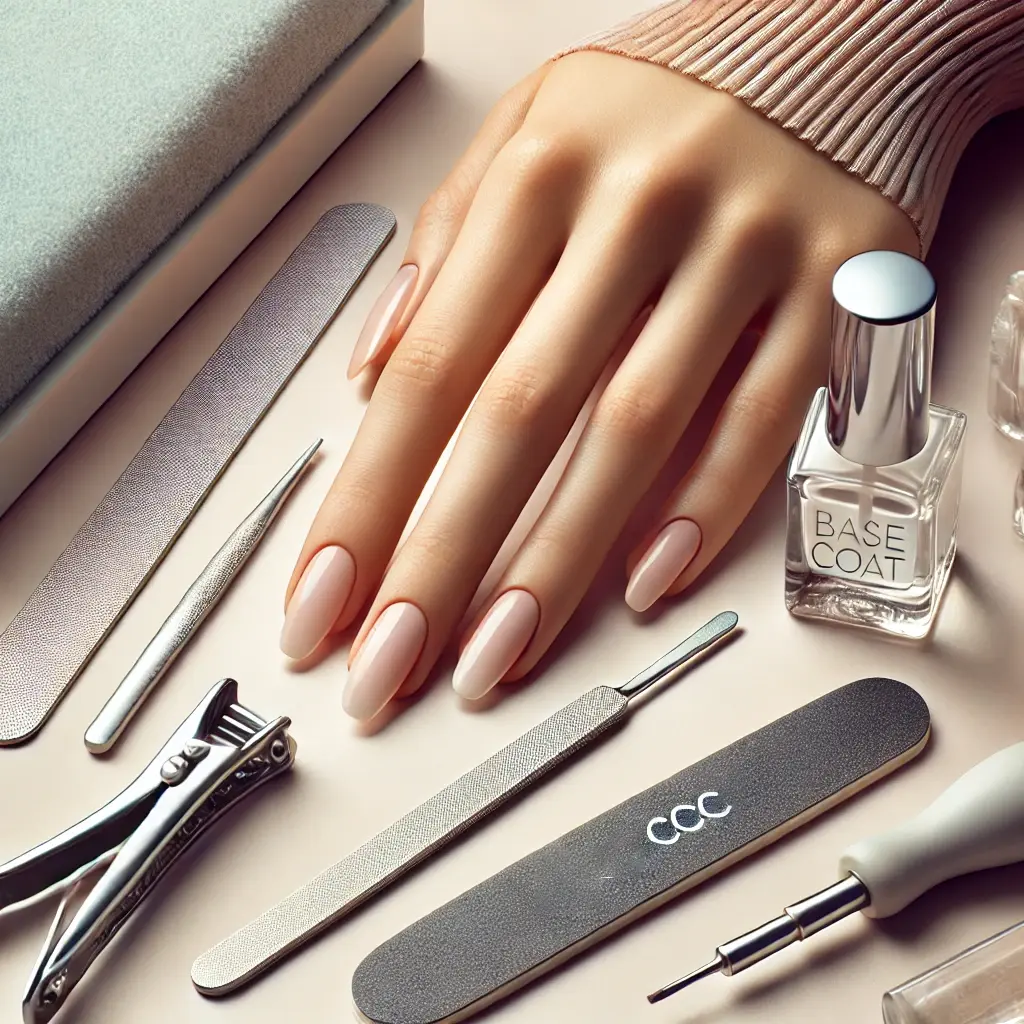
Let’s start with a blank canvas! Prepping is the unsung hero of a great mani—skip it, and even the best ombre technique won’t look its best.
Step 1: Clean and Shape Your Nails
First things first, remove any old polish. Shape your nails to your preferred length and style (square, round, or almond—whatever suits you best). Lightly buff your nails to get a smooth surface. This helps the polish adhere better, giving you a longer-lasting mani.
Step 2: Apply a Base Coat
A base coat does so much more than protect your nails from staining. It helps your polish go on evenly and makes the colors pop! Opt for a strengthening or ridge-filling base coat if your nails need a bit of extra TLC. This simple step can make your ombre look even more polished and help it last longer.
Quick Tip: If your nails are prone to peeling, a ridge-filling base coat can work wonders. It creates an even surface that’s perfect for a gradient effect!
2. Choose Your Colors Wisely – The Secret to a Stunning Ombre
Now for the best part—picking out your colors! Choosing the right shades is the key to creating a stunning ombre effect, and it’s where you get to let your creativity shine. The secret to perfect ombre nails lies in colors that transition seamlessly from one to the next, so look for shades that sit well next to each other and complement each other naturally. Here are some no-fail combos to get you inspired:
- Nudes to pinks – Soft, elegant, and super versatile. This combo is subtle but classy, making it ideal for work, weekends, or anytime you want a refined look.
- Blues to greens – Perfect for a calm, ocean-inspired vibe. Think beachy waves and seaside escapes with these cool, refreshing tones.
- Red to black – Bold, dramatic, and made for making a statement! If you’re in the mood for something edgy and unforgettable, this is your go-to.
What color ombre nails are trending in 2024?
But don’t stop there! Matching your ombre nails to the season or occasion can take your manicure to the next level:
- Spring and Summer: Bright and pastel tones—like coral blending into peach or lavender melting into mint—are fantastic for warmer days. They’re fresh, fun, and give off an effortless “I’m ready for sunshine” vibe.
- Fall: Embrace cozy, earthy tones like burgundy that fades into burnt orange or mauve shifting to taupe. These warm colors capture the feeling of a perfect fall day and look incredible with chunky sweaters and scarves.
- Winter: Go all-out with deep, bold colors like navy blending into silver or deep green with a hint of glitter for a festive, holiday-ready look. These colors add a touch of luxury and magic to your winter style.
Pro Tip: Before committing to your color choices, try them out on a swatch or piece of paper. This quick step will help you see how well the shades blend together and make sure the gradient looks exactly how you want it. Plus, it’s a huge time-saver—you’ll know you love the combo before it ever touches your nails!

3. Apply the Base Color – Set the Stage for Your Gradient
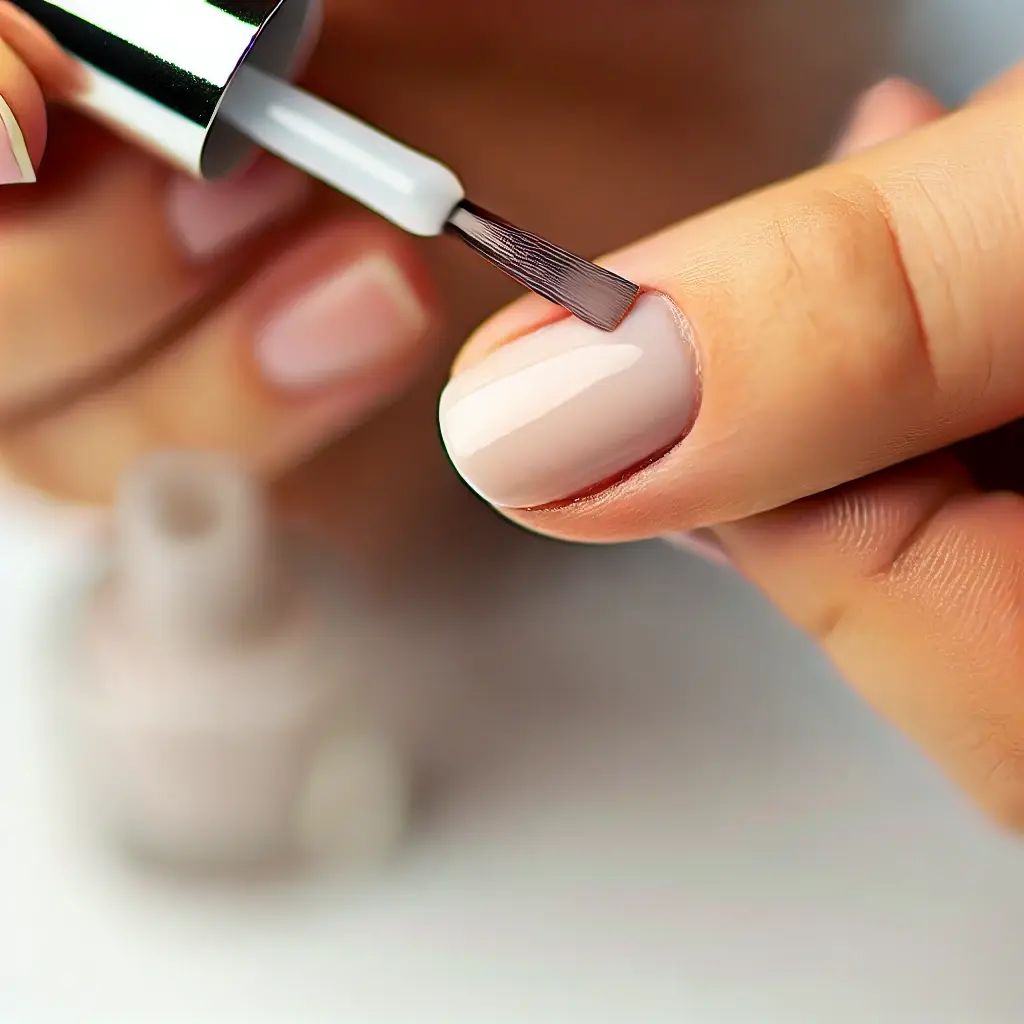
Alright, let’s lay down the foundation for that gorgeous ombre! Start by picking the lightest shade in your color combo—this will be your base color and the backdrop for your gradient magic. Applying a solid base layer is key to making the ombre effect stand out, so don’t skip this step!
How to Do Apply the Base Color:
- Apply the First Coat: Take your time with the first coat, making sure it’s even and smooth. Usually, lighter colors need a bit more coverage, so don’t be afraid to go for a second coat if needed.
- Let Each Layer Dry Completely: Trust me, I know it’s tempting to jump right into the next step, but giving each coat enough time to dry is what will make your ombre look super polished. Think of this drying time as building a strong foundation—it’ll save you from smudging or bubbling later.
- Go for Full Coverage: If your color looks a little sheer on the first layer, go ahead and apply that second coat. You want your base color to pop and be the perfect “canvas” for the gradient, so take your time here to make it look just right.
Pro Tip: If you’re really in a rush, you can dip your nails in ice water for a few seconds to speed up the drying process. Just be sure the polish is mostly set first, or it can actually ruin your layer.
4. Create the Gradient with a Sponge – The Heart of the Ombre Look
Alright, here’s where the magic happens! The sponge technique is really what brings that beautiful ombre effect to life, creating a smooth, blended look that’s almost hypnotizing. Don’t worry if it seems a bit tricky at first—once you get the hang of it, you’ll be blending colors like a pro.
How to Do It: Step-by-Step Guide to the Perfect Gradient
Step 1: Prepare the Sponge
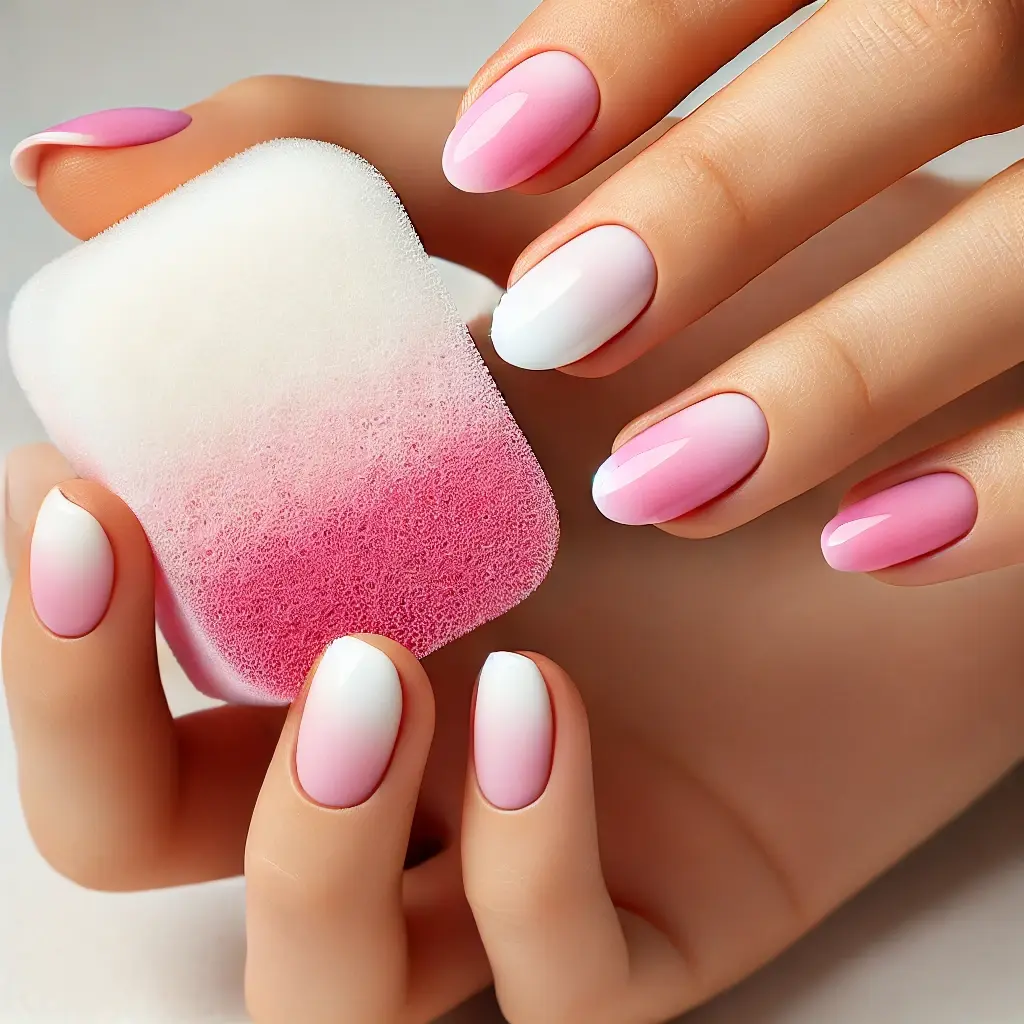
Grab a makeup sponge (or any soft sponge you have) and cut it down to about the size of your nail. This helps with control and keeps your work neat. The more the sponge fits your nail, the easier it’ll be to apply the colors exactly where you want them.
Step 2: Apply the Colors to the Sponge
Now, paint two stripes of your chosen polish colors directly onto the sponge. Let the colors overlap a little where they meet—this slight overlap is what gives you that gorgeous, seamless transition. You can use two colors for a classic ombre look, or get creative and add a third for extra dimension.
Step 3: Dab the Sponge Onto Your Nail
Here’s where you’ll start seeing the ombre come to life! Take your sponge and gently dab it onto your nail, moving slightly up and down as you go to blend the colors. Start with a light touch and add more pressure as you feel comfortable. You’ll see the colors blending beautifully, creating that soft, gradient look.
Step 4: Repeat if Necessary
Let the first layer dry for a few seconds (it doesn’t have to be bone dry), then go back in and dab again if you want to deepen the colors. You can repeat this process as many times as you like until you’re happy with the intensity and blend. The more layers you do, the richer the gradient will look!
Quick Tip: To keep things tidy, wrap some tape or apply a liquid latex barrier around the edges of your nails before you start sponging. This way, you won’t have to worry about polish on your skin, and cleanup will be a breeze.
5. Top Coat Techniques for a Smooth Finish
A top coat doesn’t just add shine; it’s the finishing touch that helps your colors blend even more seamlessly. Go for a generous layer of top coat to smooth out any texture from the sponge and seal in your gradient.
Pro Tip: If your nails feel a bit bumpy after sponging, don’t worry! A thicker top coat can even out most imperfections. Or, if you’re a perfectionist, you can gently buff the nail before applying the top coat for an ultra-smooth surface.
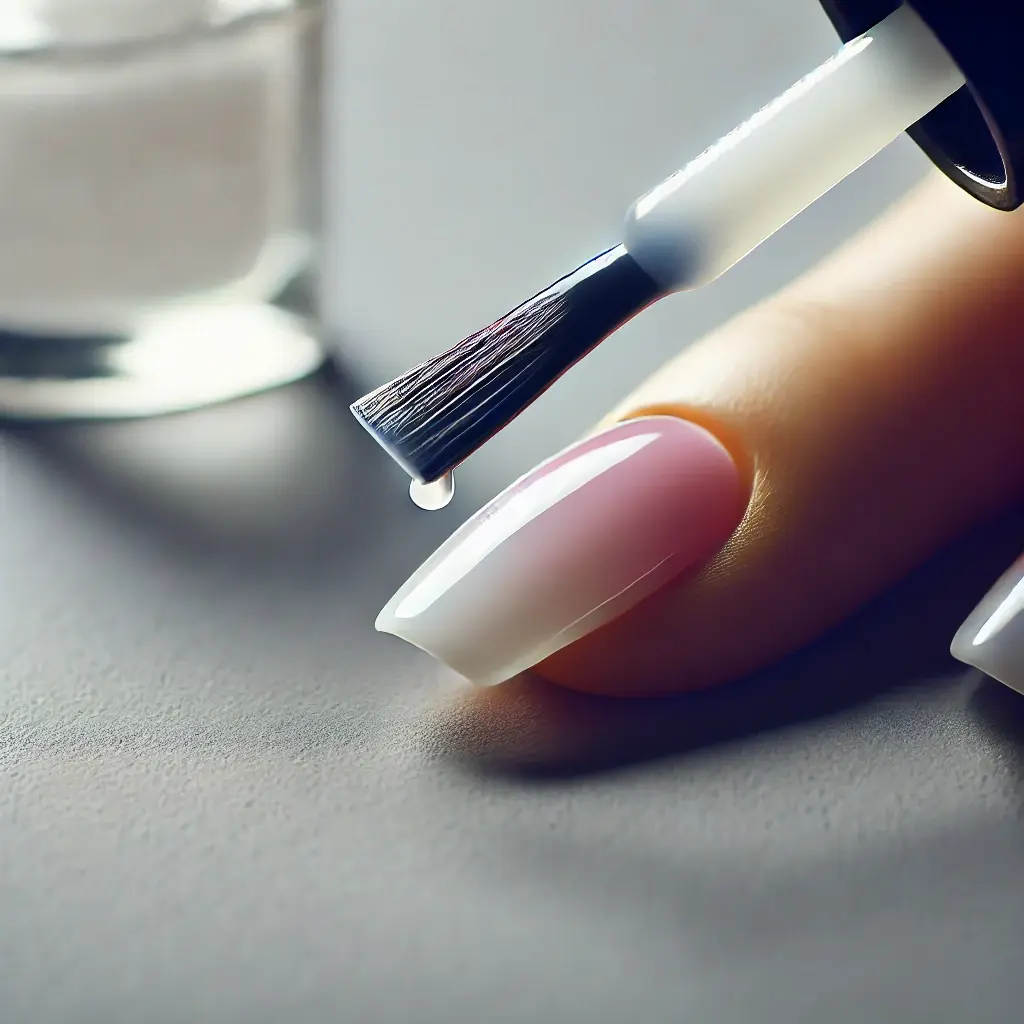
6. Clean Up the Edges – The Final Touch
The details matter, so let’s make sure those edges are on point. Dip a small brush or a Q-tip in nail polish remover and carefully clean up around your cuticles and edges. This small step makes a huge difference, giving your nails that polished, professional look.
Pro Tip: Take your time with cleanup—it’s the difference between a “pretty good” and “perfectly polished” manicure.
How To Do Ombre Nails Like A Pro? (video)
Ombre Nail Tips and Tricks: Keep Your Mani Looking Fresh and Fabulous
Once you’ve nailed the ombre look, you want it to last! Ombre nails can be a show-stopper for days—if you know how to care for them. Here are some insider tips to keep your gradient looking gorgeous and vibrant longer, plus a few advanced tricks for when you’re ready to step up your game.
How To Keep Your Ombre Nails Looking Fresh
Your ombre mani deserves to last as long as possible, so here’s how to make sure it does:
- Apply a top coat every other day. A fresh layer of top coat does wonders for keeping polish intact and prevents chips. It’ll also keep your ombre looking glossy and vibrant, as if you just did it.
- Avoid hot water exposure. Believe it or not, hot water can make your polish lift and peel faster. So, wear gloves when doing dishes or cleaning, and try not to soak your hands in hot water if you want that mani to go the distance.
- Use cuticle oil daily. A little TLC for your cuticles goes a long way. Keeping them hydrated helps prevent peeling around the edges, which can ruin a flawless look. Bonus: cuticle oil makes your hands and nails look healthier, too!
Pro Tip: Keeping your nails out of high-impact activities (like opening cans or scrubbing hard surfaces) can help avoid chips and cracks. Treat your nails like mini works of art—they deserve a little extra care!
Common Mistakes to Avoid for a Perfect Ombre
Even with the best technique, a few common pitfalls can mess with your ombre masterpiece. Here’s what to watch out for:
- Don’t skip the drying time. It’s tempting to speed through, but rushing layers can smudge or mess up the gradient. Let each layer dry fully before moving on; trust me, patience pays off here!
- Avoid overloading the sponge. More polish isn’t always better. If there’s too much on the sponge, you’ll end up with a thick, clumpy finish instead of a smooth blend. Dab off any excess polish before applying it to your nail, so you get a clean, even gradient.
Quick Fix: If you’ve got some uneven spots, a little extra top coat can help blend things out and make the gradient look smoother.
Advanced Techniques for Pro-Level Ombre Nails
Feeling confident and ready to take your ombre skills to the next level? Here are some fun twists on the classic ombre that are guaranteed to turn heads:
- Glitter Ombre: Want some sparkle? Add glitter polish on top of your ombre to give it a fun, sparkly finish. Start with a light layer at the base and add more as you move toward the tip. This gradient glitter effect gives your nails an extra pop and works especially well for special occasions.
- Matte Ombre: If shiny isn’t your vibe, try a matte top coat. It’ll transform your ombre into a velvety, muted finish that’s chic and sophisticated. Matte ombre nails are perfect if you’re going for a more understated yet stylish look.
- Reverse Ombre: Flip the script by going dark at the base and light at the tips. This reverse gradient is unexpected and edgy, and it works beautifully with bold colors. Experiment with shades like navy to light blue or burgundy to pink for a fresh, modern twist.
Pro Tip: Want an ombre that’s totally unique? Try mixing textures, like combining matte with glossy or glitter. For example, a glossy top coat over a matte ombre can add a subtle shine, or use a glitter polish just at the tips for an eye-catching contrast.
Conclusion
With these steps and pro tips, you’re ready to create stunning ombre nails that look like they came straight out of a salon. Ombre nails are the perfect way to express your style, whether you’re keeping it soft and subtle or going all-out bold. Plus, with a bit of practice and creativity, you’ll be able to customize the look to suit any mood, season, or occasion. So, go ahead—grab your favorite polishes and start blending your way to gorgeous, gradient nails!
Ready to rock your own ombre masterpiece? Tag us in your nail pics for a chance to be featured and share your look with our beauty community. And for more nail inspiration and beauty tips, check out our latest articles on BeautyStyleMag. Your next favorite nail trend awaits!
Related Articles on BeautyStyleMag
- 7 Trendy Nail Designs You Need to Try in 2024
- 30 Attractive Christmas Nail Ideas You Need to Try!
- 9 Stunning Nail Colors Perfect for Dark Skin Tones
- A Simple Guide to At-Home Fall Nail Manicure + 15 Fall Nail Ideas
For more inspiration, check out reliable resources like pinterest.com and byrdie.com for expert advice.


